Wall paneling is a simple way to change the look of a room without doing a full renovation. If you want a modern, rustic, or classic style, learning how to panel a wall in a house can help you create a clean, attractive finish with basic tools.
This is also a beginner-friendly project. With careful measuring, good preparation, and a little patience, you can panel a wall in a weekend and make your room look more polished.
Why Panel a House Wall?
Improve the Look of the Room
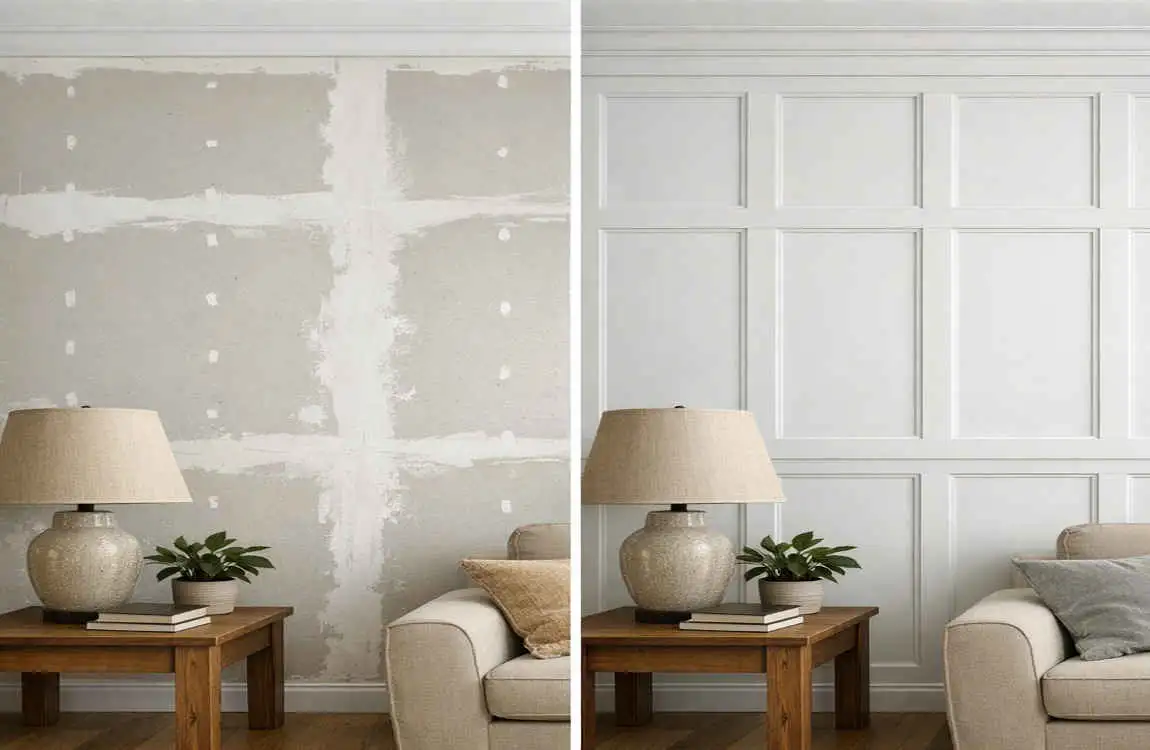
Wall paneling adds texture, depth, and style. A plain wall can feel flat, but panels give it more character.
Cover Small Imperfections
If your wall has minor dents, small cracks, or uneven spots, paneling can help hide them.
Add Value and Durability
Paneling can make a home feel more finished and well-cared-for. In some rooms, it can also enhance the wall surface’s durability.
Create a Feature Wall
You do not have to panel every wall. One featured wall can make a big visual impact and still keep the project simple.
Tools and Materials You’ll Need
ToolsMaterials
Tape measure Wall panels
Level Construction adhesive
Pencil Finishing nails
Saw Primer and paint, optional
Nail gun or hammer Caulk
Step-by-Step Guide to Panel a House Wall
Measure the Wall
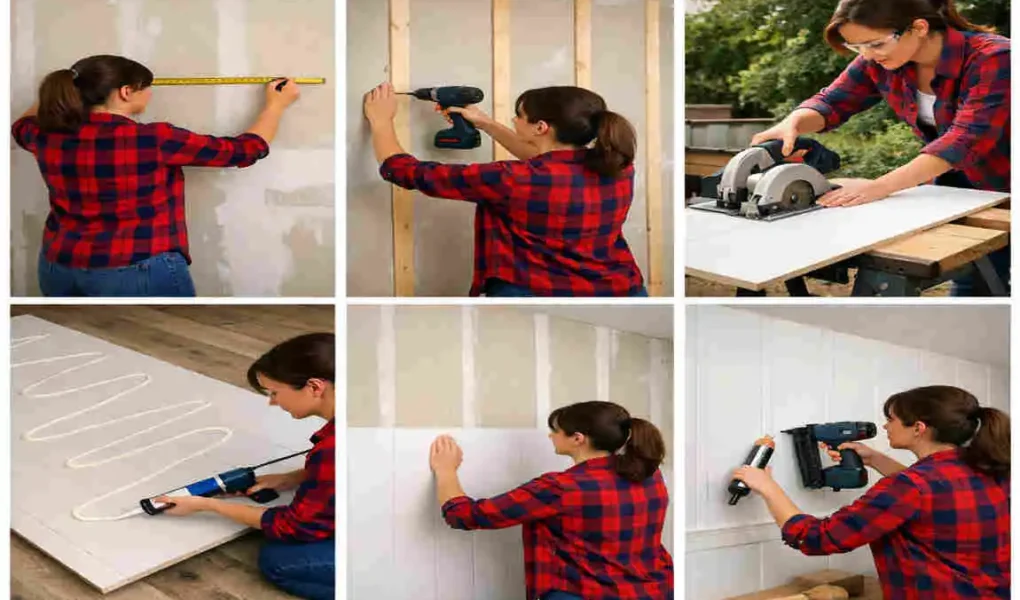
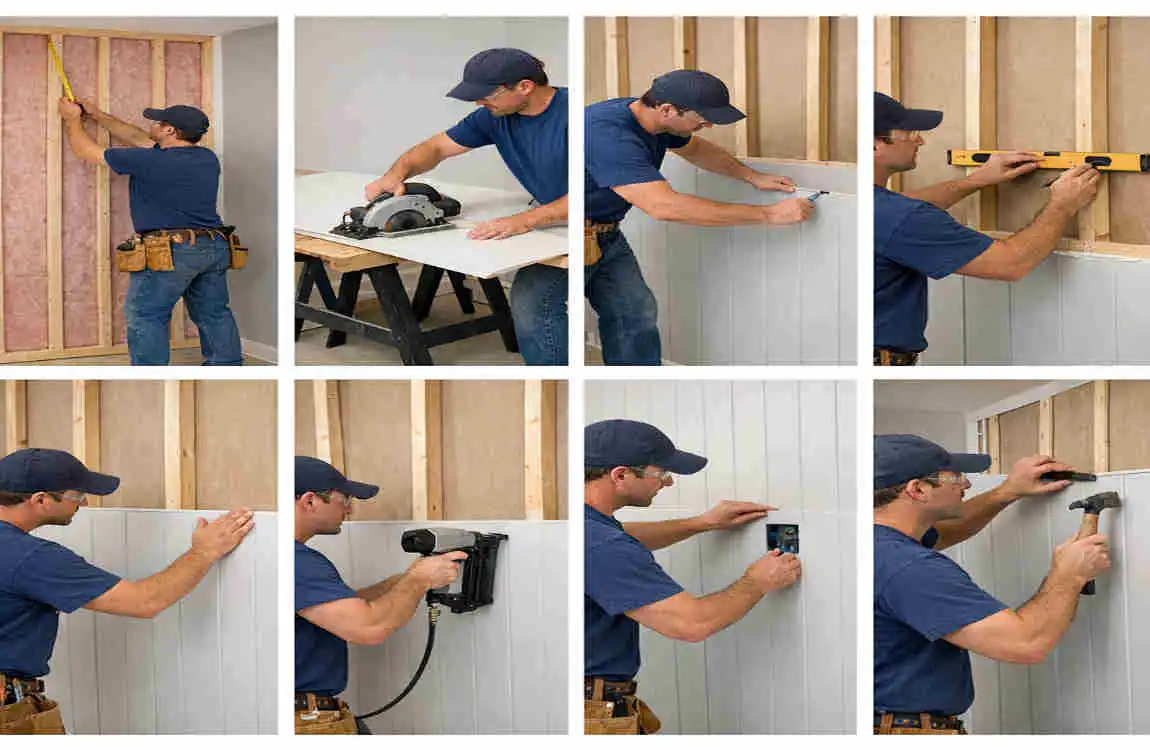
Measure the height and width of the h first. This helps you know how many panels you need and where each piece will go.
Take your time here. Accurate measurements save time later.
Prepare the Surface
Clean the wall and remove nails, dust, or loose material. Fill small holes and make sure the surface is dry.
A clean wall helps the panels stick better and look smoother.
Cut the Panels
Mark each panel carefully before cutting. Use a saw that matches the material you are working with.
It is smart to test-fit each piece before attaching it permanently.
Apply Adhesive
Put construction adhesive on the back of the panel in even lines or dots. This helps hold the panel firmly against the wall.
Use enough adhesive, but do not overload it.
Install the Panels
Start in one corner and press the panel into place. Use a level to make sure it stays straight.
If needed, add finishing nails for extra support.
Finish the Edges
Fill small gaps with caulk so the wall looks neat. If you want, paint or stain the panels after everything is dry.
This final step gives the wall a clean, finished appearance.
DIY Tips for Better Results
- Measure twice before cutting
- Start from the most visible corner
- Leave a small gap for wood panels
- Wear safety glasses while cutting
- Clean the panels after installation
These small steps can make a big difference in the final result.
Common Mistakes to Avoid
Skipping Wall Preparation
If you do not clean and level the wall first, the panels may not sit properly.
Using Too Little Adhesive
A weak bond can cause panels to loosen over time.
Not Checking Level
Even a small tilt can be easy to notice once the project is finished.
Rushing the Measurements
Wrong measurements can lead to wasted materials and uneven panel placement.
Skipping the Final Finish
Caulk, paint, or stain help the project look complete and polished.
Frequently Asked Questions
Is wall paneling suitable for beginners?
Yes. Most wall paneling projects are beginner-friendly and only need basic tools and careful measuring.
Can I install wall panels without nails?
Yes. Many lightweight panels can be installed with high-quality construction adhesive alone.
What is the best material for wall panels?
Wood gives a premium look, MDF is budget-friendly and easy to paint, and PVC is great for moisture-prone areas.
How long does it take to panel a wall?
A standard feature wall can often be completed in one day, depending on the size and material.
Can wall panels be painted?
Yes. Wood and MDF panels can usually be primed and painted in many colors.
| Step | What to Do | Helpful Tip |
|---|
| Measure the Wall | Measure the wall’s height and width to calculate the number of panels needed. | Buy 5–10% extra material for mistakes and cuts. |
| Gather Tools | Prepare wall panels, adhesive, nails, level, tape measure, saw, and caulk. | Wear safety glasses and gloves while cutting panels. |
| Prepare the Surface | Clean the wall and remove nails, dust, or loose paint. | A smooth, dry surface helps panels stick better. |
| Mark Guidelines | Use a level and pencil to draw straight reference lines. | This keeps the panels aligned evenly. |
| Cut the Panels | Trim panels to fit around doors, windows, and outlets. | Measure twice before cutting. |
| Install the Panels | Apply construction adhesive and secure panels with finishing nails if needed. | Start from one corner and work across the wall. |