
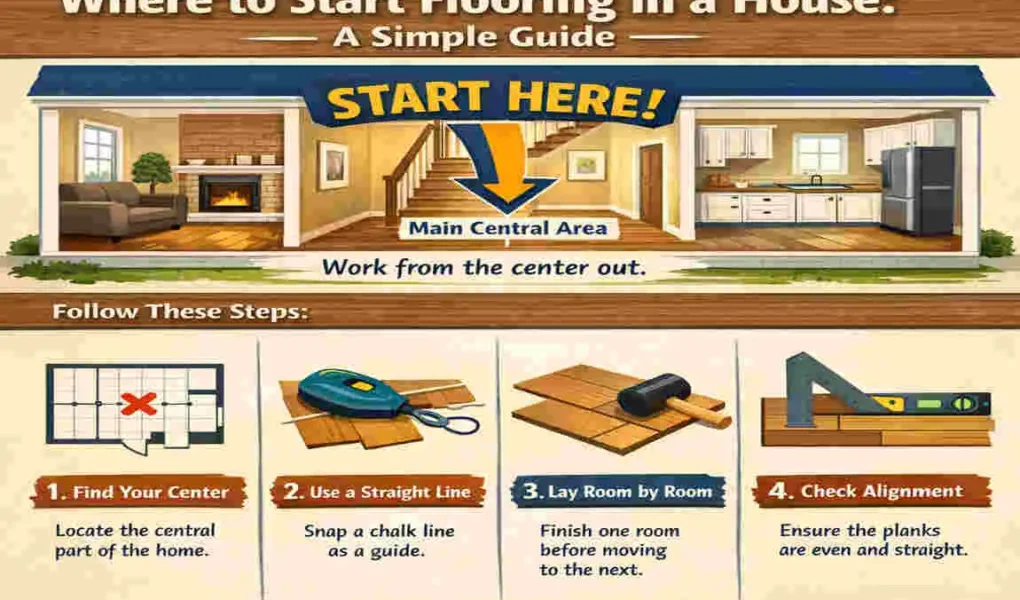
If you are wondering where to start flooring in a house, the answer is simple: start with the main living area and plan the rest of the rooms in a smart order. Flooring is not just about putting down planks or tiles. It is about creating a smooth flow, avoiding mistakes, and making sure every room looks connected.
The order you choose can save you time, money, and stress. If you begin in the wrong room, you may end up with awkward cuts, poor transitions, or damaged new floors. That is why planning matters so much. You should think about the room layout, the type of flooring, and how each space connects to the next.
Why Flooring Installation Order Matters
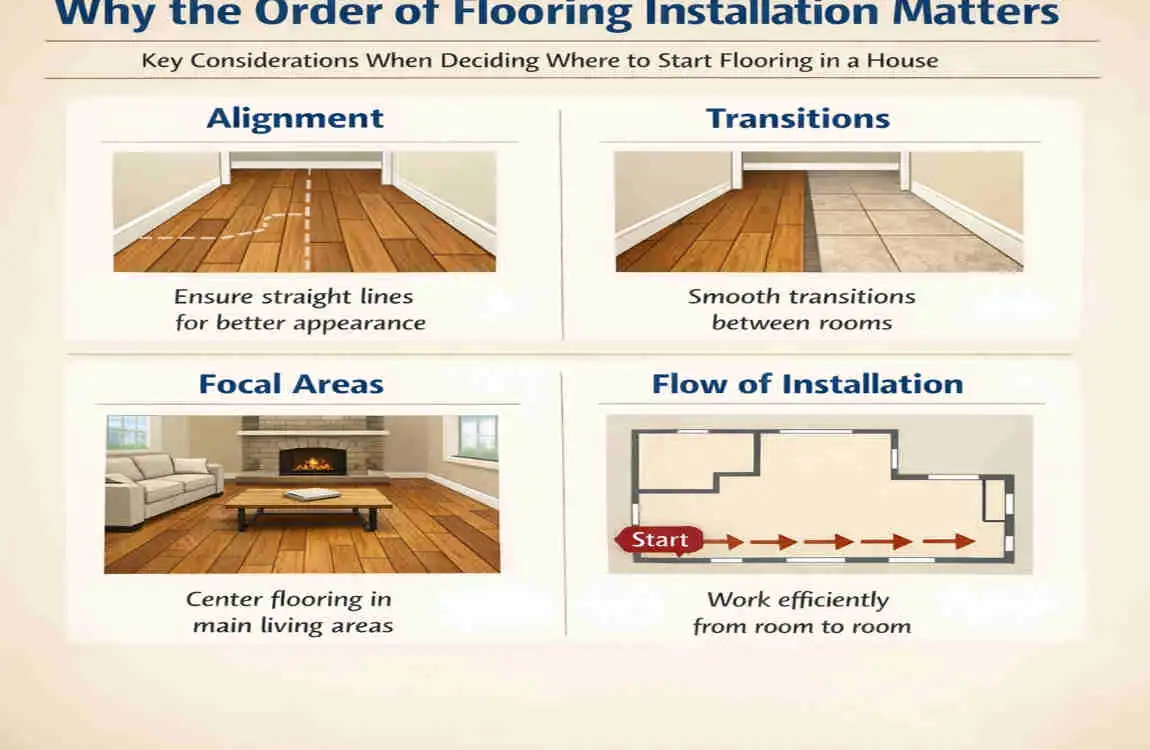
Better Workflow
When you follow the right flooring order, the whole job becomes easier. You do not have to keep walking across finished areas with tools, boards, or ladders. That means less risk of damage and less wasted effort.
It also helps you stay organized. You can move from one space to the next without doubling back or carrying materials through finished rooms again and again.
Cleaner Installation
A good starting point helps protect the finished look of your floor. When you install in the right order, you avoid scratches, dents, and messy seams. This is especially important if you are working with hardwood, laminate, or vinyl plank flooring.
A clean plan also makes the floor look more professional. The rooms line up better, and the transitions between spaces feel smooth and natural.
Cost Savings
Good planning can also reduce waste. If you install in the wrong order, you may need extra cuts, more material, or even repairs. That adds cost fast.
A smart start helps you use your flooring more efficiently. It also lowers the chance of mistakes, which means fewer problems later.
Where to Start Flooring in a House
Start with the Main Living Area
If you are asking where to start flooring in a house, begin with the main living area. This is usually the largest and most visible space in the home. Starting here creates a strong base for the rest of the project.
This room often sets the tone for the whole house. When the flooring in the main area looks good, the rest of the rooms can follow that same direction and style. It also helps create a more continuous look across connected spaces.
Install Bedrooms Next
After the main living area, move into the bedrooms. These rooms are usually easier to handle because they are smaller and more private. Working room by room keeps the project simple and reduces disruption.
Bedrooms also do not usually affect the main traffic path as much as hallways or living spaces. That makes them a good second step.
Finish Hallways Last
Hallways are best saved for later because they connect many rooms. If you finish them too early, you may have to walk over them a lot while still working in other areas.
By leaving hallways for the end, you can create cleaner transitions between rooms. This helps the home feel more connected and polished.
Complete Bathrooms Separately
Bathrooms need special attention because they often use different materials. In many homes, bathrooms need water-resistant or waterproof flooring. They also may require more care around sinks, tubs, and toilets.
It is usually best to handle bathrooms separately after the main flooring plan is in place. That way, you can choose the right material and make sure moisture concerns are handled properly.
Save Closets for the End
Closets are small and usually easier to finish at the end. They often need less cutting and less time, so they make a good final step.
Leaving closets for last also helps you use leftover pieces more efficiently. It is a simple way to reduce waste and finish the project neatly.
Factors to Consider Before Starting
Flooring Type
The best starting point can depend on the type of flooring you choose.
Here is a quick comparison:
Flooring TypeBest forImportant Note
Hardwood Living rooms, bedrooms Needs careful planning and expansion gaps
Laminate Busy family spaces Easy to install, but direction matters
Vinyl Plank Kitchens, living areas Good for moisture-prone spaces
Tile Bathrooms, entryways Requires a level subfloor
Carpet Bedrooms, soft-use areas Often installed after hard flooring
Each material has its own needs. For example, tile needs a very flat surface, while floating floors need room to expand and contract.
Subfloor Condition
Before you start, check the subfloor. This is the surface under the flooring. If it is dirty, uneven, or wet, the new floor may not sit correctly.
You should clean the area well, check for low spots, and test for moisture if needed. A strong subfloor helps the floor last longer and look better.
Direction of Flooring
The direction of the flooring also matters. In many homes, flooring looks best when it runs toward the main source of natural light or along the longest wall.
This simple choice can make a room feel larger and more balanced. It also helps the flooring flow naturally from one space to another.
Room Layout
The shape of the house makes a difference too. In open-concept homes, you want the flooring to look smooth and connected. In multi-story houses, you may need to think about stairs, upstairs rooms, and how materials move through the home.
When you understand the layout first, the whole job becomes easier to plan.
Step-by-Step Flooring Installation Process
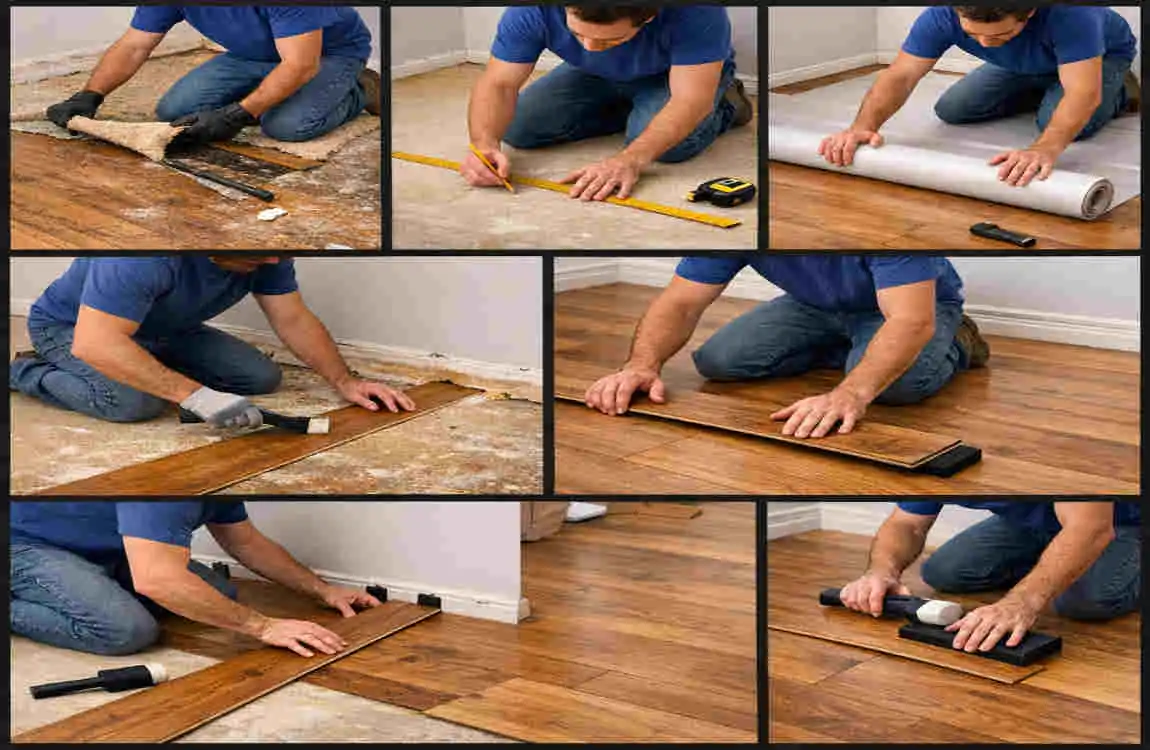
Measure Every Room
Start by measuring each room carefully. Do not guess. Accurate measurements help you buy enough flooring and avoid running short in the middle of the job.
Prepare the Subfloor
Next, clean and prepare the subfloor. Remove dust, old glue, nails, or bumps. If the surface is uneven, fix it before moving forward.
Gather Installation Tools
Before you begin, gather everything you need. This may include a tape measure, spacers, cutter, hammer, underlayment, and transition pieces. Being prepared saves time later.
Lay the First Row Carefully
The first row matters a lot. If it is uneven, the rest of the floor may also be uneven. Take your time here and make sure everything is straight.
Continue Room by Room
Work through the house one room at a time. This helps you stay organized and keeps the project from feeling overwhelming.
Install Transition Strips
Transition strips help connect one flooring type or room to another. They also hide small gaps and make the change between spaces look neat.
Add Baseboards and Trim
When the flooring is done, add baseboards and trim. These finishing touches cover expansion gaps and give the room a clean, polished look.
Common Mistakes to Avoid
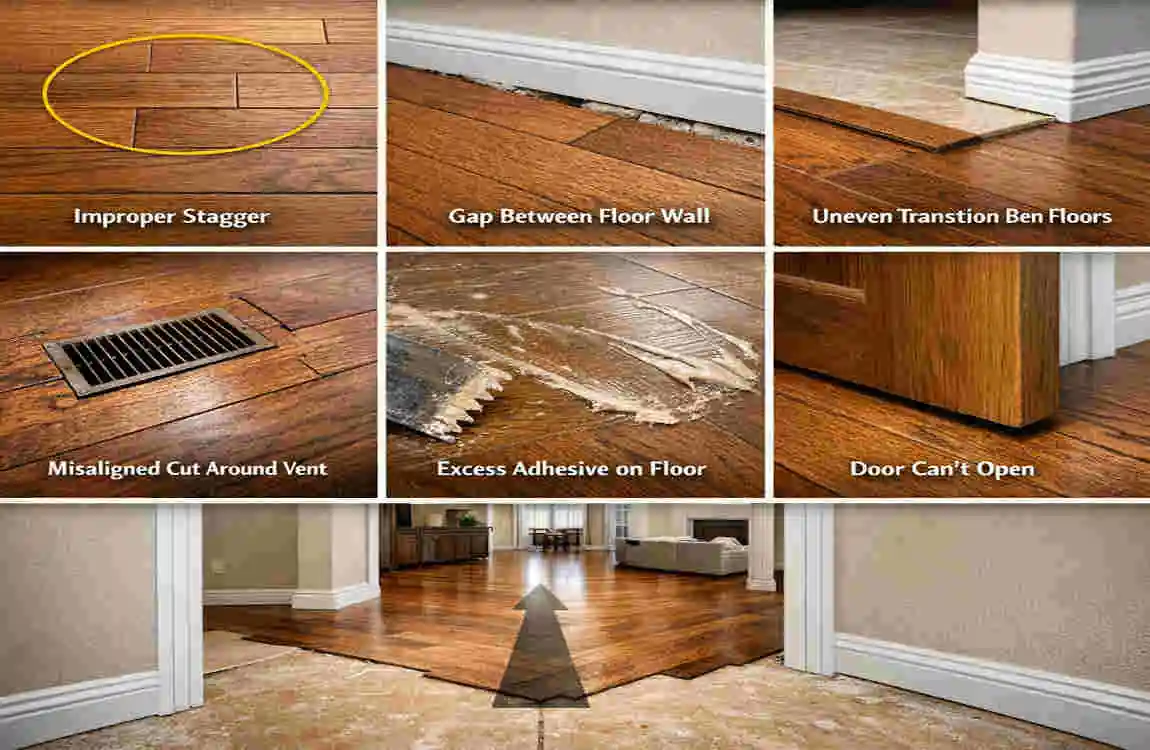
Quick List of Mistakes
- Starting in the wrong room
- Ignoring the flooring direction
- Skipping moisture checks
- Installing on an uneven subfloor
- Forgetting expansion gaps
- Mixing floor heights without transitions
- Rushing without a clear plan
These mistakes can lead to poor results and extra repair work. A little planning now can save a lot of trouble later.
Pro Tips for a Professional Finish
A Few Smart Tips
- Buy 10% extra flooring for cuts and waste.
- Let the material sit in the room before installation.
- Keep plank patterns varied so the floor looks natural.
- Work in good light so you can spot mistakes early.
- Protect finished floors while working in other rooms.
These small steps can make your floor look much more polished.
Frequently Asked Questions
Where should you start flooring in a house?
Most installers begin in the main living area and then move toward bedrooms and hallways. This creates a more consistent look.
Should flooring be installed room by room?
Yes. Installing room by room helps with alignment, planning, and overall control of the project.
Is it better to start flooring upstairs or downstairs?
In many two-story homes, professionals start upstairs to avoid carrying materials over newly finished floors.
Which direction should flooring run?
Usually, flooring runs along the longest wall or toward the main natural light source.
How much extra flooring should I buy?
A good rule is to buy about 5% to 10% extra for waste, cuts, and future repairs.
| Step | What to Do | Why It Matters |
|---|---|---|
| Choose the Starting Room | Begin in the main living area or the longest, straightest room. | Creates a consistent and professional-looking layout. |
| Check the Subfloor | Ensure the subfloor is clean, dry, level, and free of damage. | Prevents uneven flooring and future issues. |
| Plan the Layout | Decide the plank or tile direction before installation. | Improves appearance and minimizes waste. |
| Find a Straight Starting Line | Snap a chalk line or use a laser level. | Keeps rows straight throughout the installation. |
| Start Along the Longest Wall | Lay the first row against the longest, straightest wall with spacers. | Provides a stable foundation for the rest of the floor. |
| Work Room by Room | Continue into adjoining rooms while maintaining alignment. | Creates a seamless, continuous floor. |
| Leave Expansion Gaps | Maintain the recommended gap around walls and fixed objects. | Allows flooring to expand and contract naturally. |
| Finish with Trim | Install baseboards and transition strips after the flooring is complete. | Covers expansion gaps and gives a finished look. |