Your basement windows may not be at the top of your mind when it comes to home improvement projects. However, did you know that replacing old, drafty, or damaged basement windows can significantly improve your home’s safety, natural light, and overall value?
We’ll cover everything from understanding the different types of basement windows to a step-by-step installation process. By the end, you’ll have the knowledge and confidence to tackle this project and enjoy a safer, brighter house basement space.
Understanding Basement Windows
Before we delve into the specifics of replacing your basement windows, it’s helpful to understand the various types available and common issues to be aware of.
Types of Basement Windows
- Slider windows have two sections that slide horizontally past each other to open.
- Hopper windows are hinged at the bottom and open inward from the top.
- Awning windows are hinged at the top and open outward from the bottom.
- Casement windows are hinged on one side and open like a door by cranking.
Common Problems with Old Basement Windows
Over time, basement windows can develop a range of issues that compromise your home’s safety, energy efficiency, and comfort:
- Leaks and drafts due to worn-out seals or cracks
- Security vulnerabilities from weak frames or locks
- Difficulty opening or closing due to warping or damage
- Poor insulation leads to energy loss and higher bills
Impact on Home Safety and Brightness
Basement windows serve essential functions beyond just letting in light. They provide:
- Emergency egress in case of fire or other threats
- Ventilation to prevent mold and moisture buildup
- Natural light to make the space more livable
If your basement windows are old, damaged, or poorly installed, they may not be fulfilling these crucial roles. That’s why it’s essential to recognize the signs that it’s time for a replacement:
- Visible cracks, gaps, or rotting frames
- Condensation or frost buildup between panes
- Draftiness or difficulty controlling temperature
- Lack of an easy opening for the emergency exit
By understanding these key aspects of basement windows, you can make an informed decision about when and how to replace them. Up next, we’ll guide you through the preparation process to set your project up for success.
Preparing for Basement Window Replacement
Now that you know the basics of basement windows, it’s time to get ready for the replacement process. A little preparation goes a long way in ensuring a smooth, safe, and successful installation.
Tools and Materials Needed
Before you begin, gather these essential tools and materials:
- Tape measure and level
- Hammer and pry bar
- Drill and screwdriver
- Utility knife and putty knife
- Caulking gun and weatherproof caulk
- Insulation material (foam, fiberglass, etc.)
- Replacement window and frame
- Safety gear (gloves, goggles, dust mask)
Measuring and Choosing the Right Window
One of the most crucial steps is accurately measuring your existing basement window to ensure a proper fit for the replacement. Here’s how:
- Measure the width and height of the window opening from inside the basement.
- Take measurements at the top, middle, and bottom for width, and the left, center, and right for height.
- Use the smallest measurement in each direction to ensure the new window will fit.
When choosing your replacement window, consider factors like:
- Frame material (vinyl, wood, fiberglass)
- Glass type (single, double, or triple pane)
- Energy efficiency rating and U-value
- Style and size that complements your home
Permits and Safety Precautions
Before starting any window replacement project, check with your local building department to determine if any permits or regulations are required. You may need to meet specific egress size or style requirements.
To ensure your safety during the replacement process:
- Wear protective gear, such as gloves, goggles, and a dust mask.
- Use caution when removing the old window to avoid cutting yourself on glass shards.
- Ensure the work area is well-ventilated, especially when using caulk or insulation.
- Have a helper on hand to assist with lifting and holding the new window in place.
With your tools gathered, measurements taken, and safety precautions in place, you’re ready to tackle the step-by-step installation process. Let’s get to it!
Step-by-Step Guide on How to Replace Basement Windows
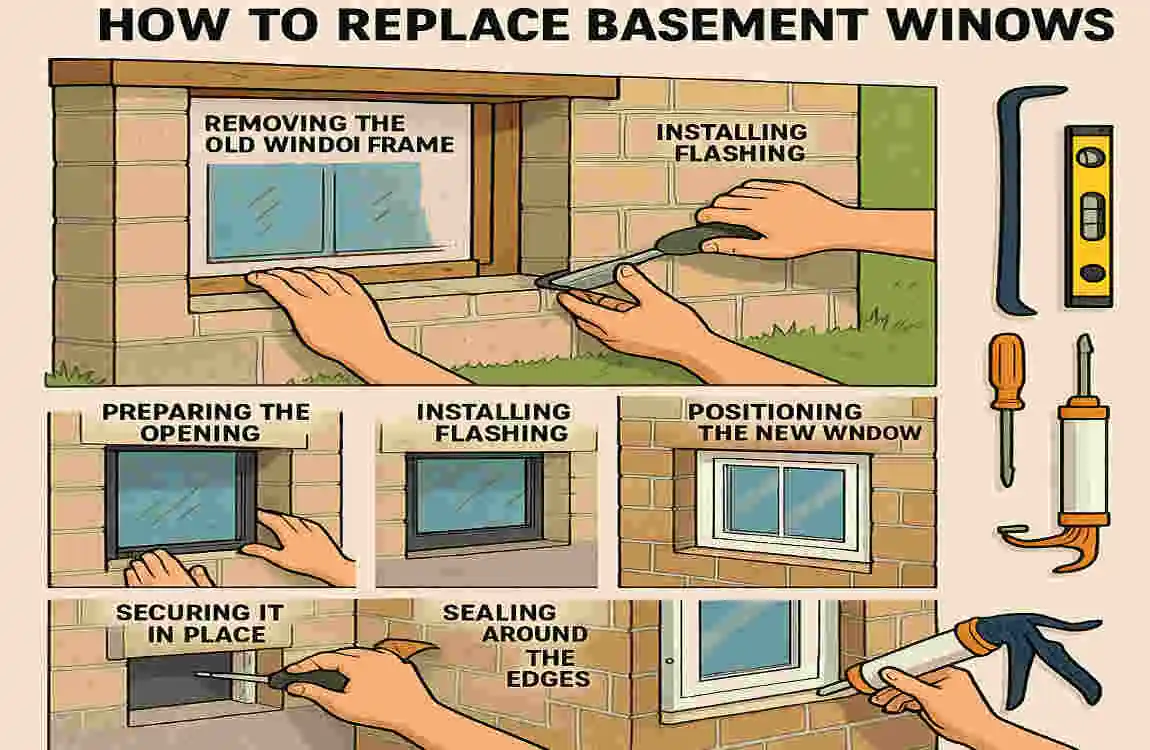
Replacing your basement windows may seem daunting, but with the right approach and attention to detail, it’s a manageable DIY project. Follow these steps to remove your old window and install a new one like a pro.
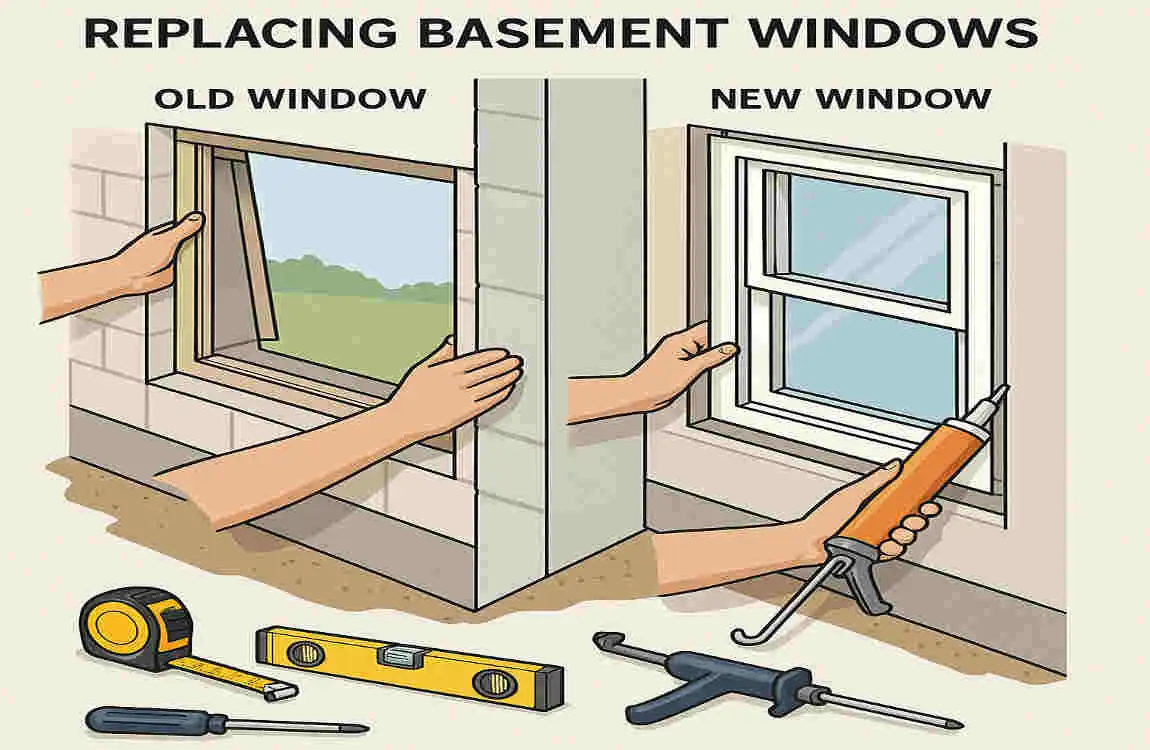
Remove the Old Basement Window
- From inside the basement, remove any trim or casing around the window using a pry bar. Be careful not to damage the surrounding wall.
- Remove the old window sashes (the movable part that holds the glass). For sliding windows, lift the sashes out of the frame. For hopper or awning windows, remove the hinge pins or unscrew the operator arms.
- Cut through any caulk or sealant around the window frame with a utility knife.
- Carefully pry out the old window frame, starting at the corners and working your way around. If it’s stubborn, try cutting through the nailing fins with a reciprocating saw.
Prepare the Window Opening
- With the old window removed, clean out any debris, old caulking, or insulation from the opening.
- Inspect the framing and surrounding wall for any signs of rot, mold, or damage. Make repairs as needed before proceeding.
- Verify that the opening is square by measuring diagonally from one corner to the opposite corner. Adjust the framing until the measurements are equal.
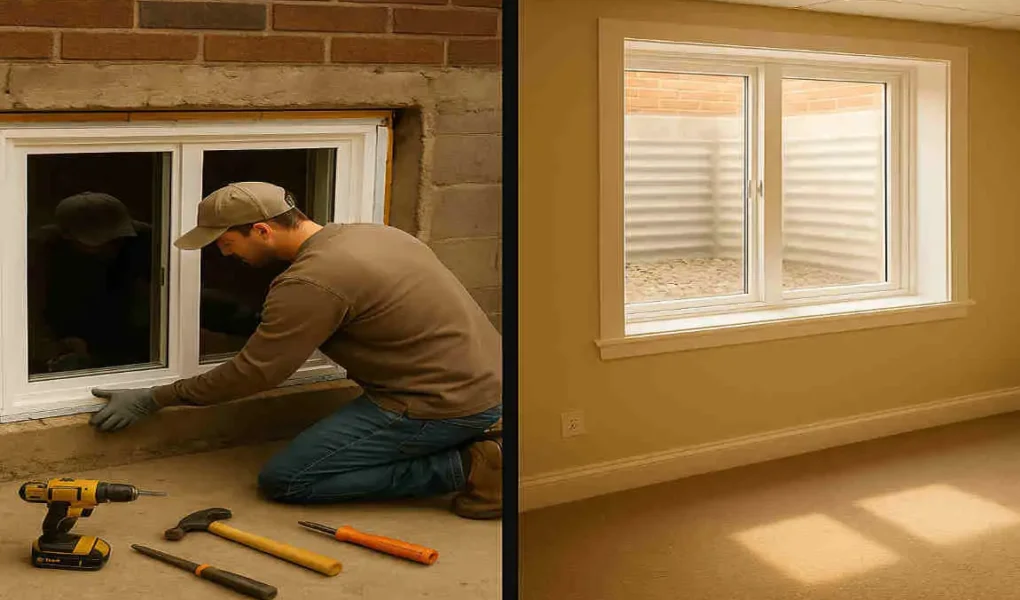
Install the New Basement Window
- Dry-fit the new window frame into the opening to ensure it fits properly. Make any necessary adjustments.
- Apply a bead of caulk along the inside edge of the window frame.
- Place the new window frame into the opening, ensuring it’s plumb, level, and square. Use shims if needed to keep the frame in position.
- Secure the window frame to the surrounding framing using screws driven into the pre-drilled holes. Be careful not to overtighten and distort the frame.
- Check that the window operates smoothly and locks securely.
Insulate and Weatherproof
- Fill any gaps between the modern window frame and the rough opening with expanding foam insulation. Allow it to cure according to the manufacturer’s instructions.
- Apply a bead of weatherproof caulk around the exterior perimeter of the window frame to create an airtight, watertight seal.
- Install any flashing or drip caps as needed to direct water away from the window.
Finishing Touches
- From inside the basement, install the new window trim or casing, mitering the corners for a neat appearance.
- If desired, paint or stain the trim to match your decor.
- Clean the glass and tracks of the new window, and ensure it operates smoothly.
- Finish by cleaning up any debris and disposing of the old window properly.
Common Mistakes to Avoid
To ensure your basement window replacement goes smoothly, watch out for these common pitfalls:
- Measuring incorrectly or ordering the wrong size window
- Failing to properly seal and insulate around the new window
- Overtightening screws and distorting the frame
- Neglecting to check for square, plumb, and level during installation
- Skipping safety precautions like wearing gloves and goggles
By following these steps carefully and avoiding common mistakes, you can successfully replace your basement windows and enjoy a safer, brighter space below ground.
Benefits of Replacing Basement Windows
Replacing your old, drafty, or damaged basement windows offers numerous benefits for your home and family. Here are some of the top advantages:
Improved Safety
One of the most critical functions of a basement window is to provide an emergency escape route in the event of a fire, flooding, or other threats. Newer egress windows are designed to meet strict size and operability requirements, ensuring a quick and easy exit when every second counts.
Replacing old windows with more secure options can also help prevent break-ins and intrusions, giving you greater peace of mind.
Increased Natural Light
Basements are notorious for feeling dark, damp, and uninviting. By replacing small, dingy windows with larger, clearer options, you can flood the space with natural light, making it feel more open and welcoming.
Natural light can also help reduce the need for artificial lighting during the day, saving energy and money on your utility bills.
Enhanced Energy Efficiency
Old, leaky windows are a significant source of energy loss in homes, allowing heat to escape in winter and cool air to seep in during summer. By upgrading to energy-efficient windows with features such as double or triple panes, low-E coatings, and gas fills, you can better insulate your basement and maintain stable temperatures year-round.
This not only makes your basement more comfortable but can also lead to significant savings on heating and cooling costs over time.
Increased Home Value
Replacing your basement windows is a wise investment in your home’s overall value and appeal. Buyers are often willing to pay more for homes with updated, energy-efficient features, such as new windows.
Even if you’re not planning to sell anytime soon, replacing your basement windows can give your home a fresh, modern look and boost its curb appeal from the outside.
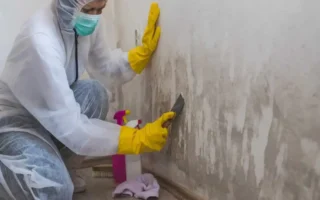
Better Moisture Control
Basements are prone to moisture issues like condensation, humidity, and even flooding. Old, leaky windows can exacerbate these problems by allowing water to seep in and providing a breeding ground for mold and mildew.
By installing new, properly sealed windows and ensuring adequate ventilation, you can help regulate moisture levels and prevent the growth of harmful mold spores. This not only protects your home’s structure but also promotes healthier indoor air quality for your family.
In short, replacing your basement windows offers a range of benefits that can enhance your home’s safety, comfort, energy efficiency, and value. While it may require an upfront investment of time and money, the long-term rewards are well worth it.
Professional vs. DIY Basement Window Replacement
When it comes to replacing your basement windows, you have two main options: hiring a professional contractor or tackling the project yourself. Here’s what to consider when making your decision:
When to Hire a Professional
While replacing basement windows can be a manageable DIY project, there are some situations where it’s best to call in the pros:
- If you’re unsure about local building codes and permit requirements
- If your basement has structural issues or water damage that needs to be addressed
- If you’re not confident in your ability to measure, install, and seal the windows properly
- If you have a complex window configuration or want to change the size or style significantly
Professional window installers possess the expertise, tools, and experience to handle even the most complex basement window replacements. They can also identify potential issues and recommend the most suitable solutions for your specific needs.
Cost Comparison
One of the main factors in deciding between professional and DIY installation is cost. On average, hiring a contractor to replace a single basement window can cost between $500 and $1,000, depending on the size, style, and complexity of the project.
DIY installation can be significantly cheaper, with materials costing around $100 to $500 per window. However, it’s essential to consider the value of your time and the potential cost of mistakes or repairs if something goes wrong.
Choosing a Contractor
If you decide to hire a professional for your basement window replacement, be sure to:
- Get recommendations from friends, family, or neighbors who have had similar work done.
- Research potential contractors online and check their reviews, ratings, and Better Business Bureau accreditation.
- Request detailed written estimates from at least three contractors, and compare the scope of work, materials, and pricing.
- Verify that the contractor is licensed, insured, and experienced in installing basement windows specifically.
- Request references and examples of previous work, and follow up with past clients to assess their level of satisfaction.
Ensuring Quality and Safety
Whether you choose to hire a professional or tackle the project yourself, there are some key steps you can take to ensure a quality, safe installation:
- Follow all manufacturer instructions and local building codes carefully.
- Use proper safety gear and techniques when removing and installing windows to ensure your safety.
- Ensure a tight, weatherproof seal around the new window frame to prevent leaks and drafts.
- Test the window’s operation and locking mechanisms before finishing the installation.
- Schedule a professional inspection to verify that the installation meets egress and safety requirements.
By weighing the pros and cons of professional vs. DIY installation and taking steps to ensure quality and safety, you can make an informed decision and achieve the best results for your basement window replacement project.
Maintenance Tips for Basement Windows After Replacement
Once your new basement windows are installed, it’s essential to maintain them properly to ensure they continue to function effectively and look great for years to come. Here are some simple tips to keep in mind:
Regular Cleaning
- Clean the glass, frames, and tracks of your basement windows at least twice a year to remove dirt, dust, and debris.
- Use a soft brush or vacuum attachment to clear out any cobwebs or loose particles.
- Wash the glass with a mixture of mild dish soap and water, or a commercial glass cleaner. Avoid abrasive scrubbers that can scratch the surface.
- Dry the glass and frames thoroughly with a lint-free cloth or squeegee to prevent water spots and streaks.
Seal and Caulk Maintenance
- Inspect the caulking and weatherstripping around your basement windows annually for signs of cracking, peeling, or gaps.
- Remove any old, damaged caulk with a putty knife or caulk removal tool.
- Clean and dry the surface thoroughly before applying new, high-quality exterior caulk.
- Smooth the caulk bead with a moistened finger or caulk finishing tool for a neat, even seal.
- Allow the caulk to cure completely according to the manufacturer’s instructions before painting or exposing it to moisture.
Seasonal Checkups
- Before each heating and cooling season, give your basement windows a thorough checkup to ensure they’re in good working order.
- Test the windows to make sure they open, close, and lock smoothly. Lubricate any sticking or squeaky parts with silicone spray or dry lubricant.
- Check for any signs of moisture or condensation between the panes, which could indicate a broken seal that needs repair.
- Inspect the frames and surrounding wall for any cracks, gaps, or signs of water damage. Address any issues promptly to prevent further damage.
By following these simple maintenance tips and staying vigilant for any signs of wear or damage, you can extend the life of your new basement windows and ensure they continue to provide safety, comfort, and beauty for your home.