We have all been there. You get a text from a friend saying they are “in the neighborhood” and will be dropping by in a couple of hours. Or you may have spent the whole week working late, and now your Saturday morning is being swallowed by a mountain of laundry and dusty surfaces. You look around, and the house feels like it’s winning. The stress starts to bubble up, and you wonder, “How on earth am I going to get this place presentable without spending my entire weekend scrubbing?”
The good news is that you don’t need a whole day to transform your home. You can actually master how to clean a house in 2 hours by using a high-energy, focused approach called “blitz cleaning.” This isn’t about deep-cleaning your baseboards with a toothbrush or organizing your spice rack by color. This is about high-impact, visible results that make your home feel fresh, smelling great, and completely guest-ready in a fraction of the time.
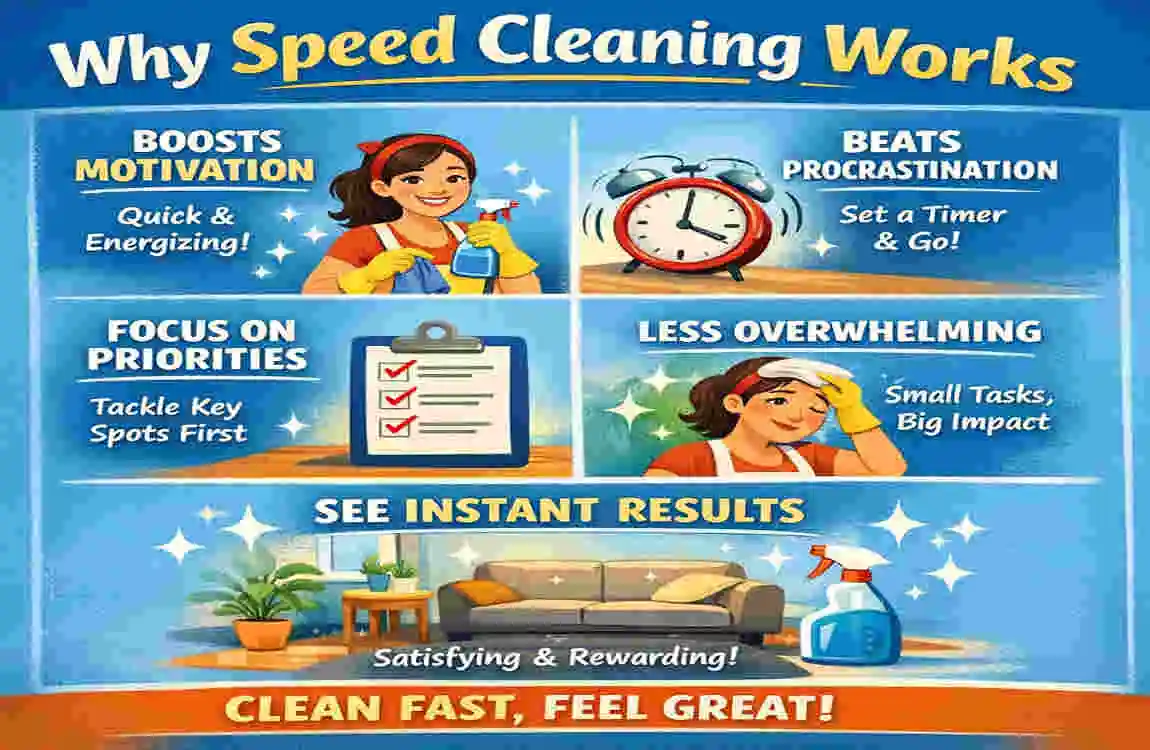
The Science of the Blitz: Why Speed Cleaning Actually Works
Before we pick up a spray bottle, let’s talk about why this method works. Most people fail at cleaning because they get distracted. You start cleaning the kitchen, find a stray toy, walk it to the bedroom, notice the bed isn’t made, start making the bed, and suddenly an hour has passed, and the kitchen is still a mess. This is called “butterfly cleaning,” and it is the enemy of efficiency.
Breaking the Perfectionism Trap
The “blitz” philosophy is built on the idea of high-impact tasks. We are focusing on the 20% of work that yields 80% of the visual results. When you learn how to clean a house in 2 hours, you have to let go of perfectionism. You aren’t aiming for a surgical suite; you are aiming for a clean, comfortable, and hygienic home. By setting a strict time limit, you force your brain to prioritize. You will find that you can move much faster when you know the clock is ticking.
The Power of Dwell Time and Multi-Tasking
One of the biggest secrets to speed cleaning is letting your products do the heavy lifting. This is often called “dwell time.” If you spray a surface and immediately wipe it, you’ll need elbow grease to get the grime off. But if you spray it and let it sit for five or ten minutes while you do something else, the chemicals break down the dirt for you. We will use this “soak and move” strategy throughout the house to save your muscles and your time.
Building a Habit of Maintenance
The more often you perform a 2-hour blitz, the easier it becomes. You start to notice that “deep cleans” aren’t needed as often because you are preventing the massive buildup of dust and grime. This isn’t just about cleaning for guests; it’s about a mental health boost. A cluttered, dirty home can lead to increased cortisol (the stress hormone). By knocking out the cleaning in a short burst, you give yourself the gift of a calm environment without sacrificing your entire weekend.
Your Battle Gear: Essential Tools and Preparation
To clean fast, you need to be prepared. You cannot spend twenty minutes looking for the glass cleaner or a clean rag. Professional cleaners use a “caddy” system, and you should too. Having everything within arm’s reach prevents those “butterfly cleaning” distractions we talked about earlier.
The 2-Hour Cleaning Toolkit
You don’t need a closet full of expensive chemicals. In fact, having too many products slows you down because you have to stop and think about which one to use. Keep it simple and effective.
Tool: Why It Speeds CleaningTime Saved
Cordless Vacuum: No more hunting for outlets or tripping over cords. 5 mins per room
Microfiber Cloths. They grab dust better than paper towels and don’t leave lint. 2 mins per wipe.
All-Purpose Spray Works on 90% of surfaces, so you don’t have to switch bottles. 3 mins per room
Magic Eraser quickly removes scuffs and stains that spray won’t reach. 5 mins total
The Cleaning Caddy keeps everything in one place as you move from room to room. 10 mins of walking
Setting the Stage for Success
Before you start the timer, you need about 10 minutes of “pre-game” preparation. This is crucial for maintaining your momentum.
- Set a Timer: Use your phone or a kitchen timer. Seeing the minutes count down keeps you focused.
- Pump Up the Jams: Put on a high-energy playlist or a podcast you love. Fast-tempo music naturally makes you move faster.
- The “Basket Method” for Decluttering: Take a laundry basket or a significant bin. Walk through the main areas and scoop up anything that doesn’t belong there—shoes, mail, toys. Don’t worry about putting them away yet; get them out of sight so you can clean the surfaces.
- Clear the Surfaces: You can’t wipe a counter if it’s covered in mail. Clear the decks first.
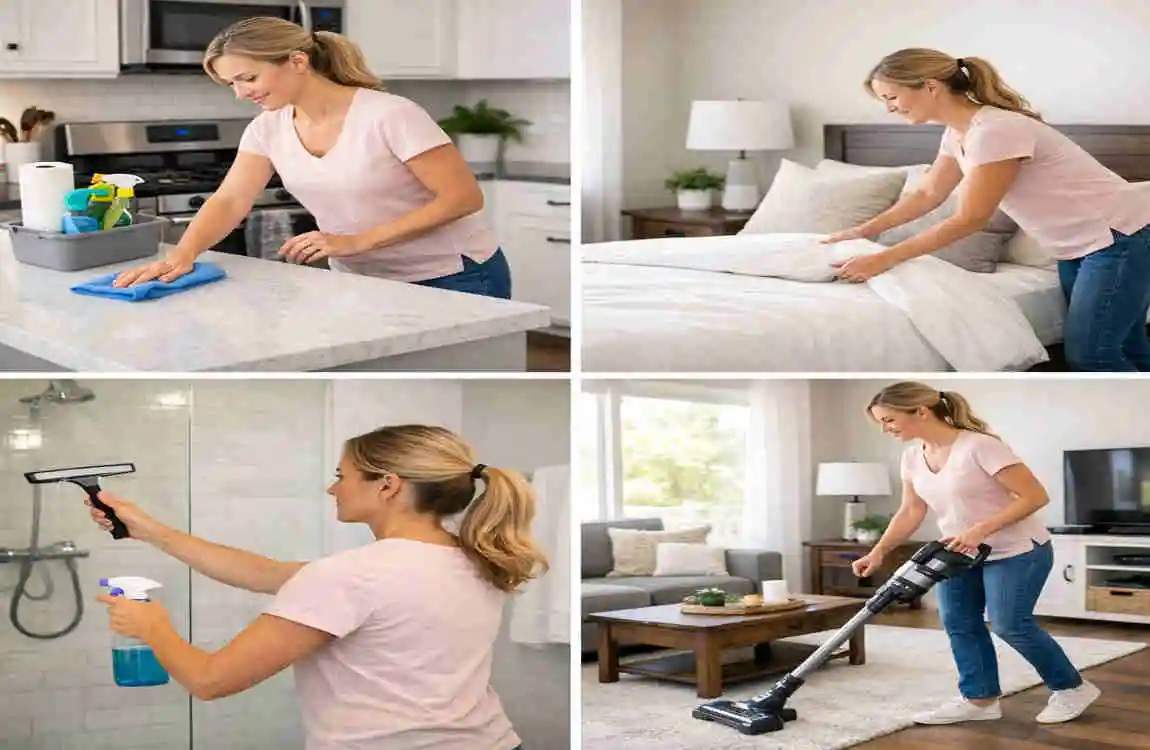
The Kitchen Blitz: Your 20-Minute Action plan
The kitchen is often the heart of the home, but it’s also the place that gets the dirtiest. Because of grease and food particles, it requires a strategic approach. We are going to tackle this in precisely 20 minutes.
The Soak and Zap Method
Start by clearing the sink. If you have dirty dishes, get them into the dishwasher immediately. If they need to soak, fill the sink with hot, soapy water. While that’s happening, spray your stovetop and the inside of your microwave with your all-purpose cleaner.
Pro Tip: If your microwave has crusty food inside, put a bowl of water with a slice of lemon in there and run it for two minutes. The steam will loosen everything, making it a “one-wipe” job later.
Countertop and Cabinet Strategy
Now, move to the counters. Use your microfiber cloth and all-purpose spray. Start at one end of the kitchen and move clockwise. Don’t just wipe around things; move them, wipe under them, and put them back.
- 3 Minutes: Load the dishwasher and clear the sink.
- 4 Minutes: Wipe down the stovetop and the inside of the microwave (which should be easy now thanks to the steam).
- 5 Minutes: Scrub the sink and wipe the cabinet fronts. Focus on the areas around the handles where fingerprints are most likely to be found.
- 3 Minutes: Quickly sweep or vacuum the floor to get the big crumbs.
- 5 Minutes: Take out the trash and do a “lightning mop” using a spray mop or a damp cloth on a Swiffer.
Remember the 80/20 rule here. Don’t worry about cleaning the inside of the oven or organizing the pantry. If the counters are clear, the sink is empty, and the floor isn’t crunchy, the kitchen will feel 100% better.
The Living Room Refresh: 15 Minutes to Comfort
The living room is usually about “visual order.” It’s where you relax, so we want to remove the visual noise that causes stress. You can get this done in 15 minutes if you stay focused.
The Surface Sweep
Start by “resetting” the furniture. Fluff the sofa pillows and fold any throw blankets. This takes about two minutes but instantly makes the room look like a professional staged it. Next, grab your microfiber cloth. We are going to do a “dry dust” first.
Dust the TV screen, the coffee table, and any bookshelves at eye level. Don’t worry about the high shelves or the baseboards today. Just hit the surfaces that catch the light.
Floor and Fabric Care
Once the surfaces are transparent, it’s time for the floors. If you have a cordless vacuum, this part is a breeze. Run it over the high-traffic areas. Don’t move the heavy sofa; vacuum around it and get the visible areas.
- 3 Minutes: Fluff pillows, fold throws, and straighten magazines or remotes.
- 4 Minutes: Dust surfaces and the TV. Use a slightly damp cloth for sticky spots on the coffee table.
- 4 Minutes: Vacuum the floors and quickly run the attachment over the sofa cushions if you have pets.
- 4 Minutes: Spot-wipe any glass surfaces or windowsills where dust likes to settle.
The Sock Hack: If you have dusty blinds, put an old (clean) sock on your hand like a puppet. Run your hand across the slats. It’s much faster than using a traditional duster and picks up more grime!
The Bathroom Blitz: 20 Minutes to a Sparkling Sanctuary
Bathrooms are the one place where “clean” really matters for hygiene. However, you don’t need to spend an hour scrubbing tiles to get that “hotel clean” feel. We are going to use the “dwell time” trick here to save our backs.
The Multi-Tasking Soak
As soon as you walk in, spray the shower, the bathtub, and the toilet bowl with your cleaner. Let it sit! While the cleaner removes soap scum and bacteria, you can focus on the “dry” tasks.
- Clear the Counters: Put toothbrushes in the cabinet and move the clutter.
- Mirror Magic: Use a dry microfiber cloth or a specific glass cloth to wipe the mirror. If you don’t have glass cleaner, a tiny bit of water on a microfiber cloth works wonders without leaving streaks.
- Wipe the Sink: By now, the spray on the sink has done its job. Wipe it down, including the faucet. Use a magic eraser on any stubborn toothpaste spots.
Mirror and Fixture Polish
Now, go back to the toilet and the shower. Since the product has been sitting, the grime should slide right off.
- 4 Minutes: Spray everything and let it soak.
- 3 Minutes: Wipe the mirror and the countertops.
- 4 Minutes: Scrub the toilet and the shower/tub. Use a long-handled brush for the tub to save your knees.
- 4 Minutes: Vacuum the floor (to get hair and dust) and then do a quick mop with a disinfectant.
- 5 Minutes: Swap out the dirty towels for fresh ones and empty the small trash bin.
If you have two bathrooms, try to do the “spraying” phase in both at the same time. Spray Bathroom A, walk over and spray Bathroom B, then go back to Bathroom A to finish the wiping. This maximizes your dwell time!
The Bedroom Blitz: 15 Minutes per Room
Bedrooms are often the easiest to clean but the most neglected. The goal here is to turn the room back into a “sleep sanctuary” by removing the “life clutter” that piles up on nightstands and chairs.
The Bed and Clutter Reset
The single most important thing you can do in a bedroom is make the bed. A made bed covers about 30-40% of the room’s surface area. If the bed is made, the room looks 50% cleaner immediately.
Next, tackle the “clutter chair”—you know the one, the chair where all the “not quite dirty but not quite clean” clothes live. Put the dirty ones in the hamper and hang up the clean ones.
Dusting and Floor Clearing
Keep your dusting to a minimum. Hit the nightstands and the tops of dressers. If you have a lot of knick-knacks, don’t pick up each one. Just dust around them for now.
- 3 Minutes: Make the bed and straighten the pillows.
- 4 Minutes: Clear the floor. Put shoes in the closet and clothes in the hamper.
- 4 Minutes: Dust the furniture and the lampshades.
- 4 Minutes: A quick vacuum, especially under the edge of the bed where “dust bunnies” love to hide.
For Kids’ Rooms: Use a “Toy Bin Blitz.” Don’t try to organize the Legos by set. Just get all the toys off the floor and into their designated bins. A clear floor is a clean floor in a child’s room.
Dining Rooms and Hallways: The 10-Minute Final Pass
These are the transition zones of your home. They don’t usually require deep cleaning, but they catch a lot of “drift” from other rooms.
Spend five minutes in the dining room wiping down the table and straightening the chairs. If you have a centerpiece, make sure it’s centered and dust-free. In the hallways, focus on the floors. Hallways are high-traffic areas, so a quick vacuum here makes the whole house feel cleaner as you walk through it.
- Table Wipe: Use your all-purpose spray to remove any food crumbs or dust from the dining table.
- Chair Check: Tuck in the chairs and wipe off any sticky handprints on the backs of the chairs.
- Entryway Order: Straighten the shoes at the front door and hang up any stray coats. This is the first thing guests see, so it has a high impact.
The Final Countdown: 10 Minutes for Finishing Touches
You have worked hard, and the timer is nearing the end. This is where you do the “walkthrough.” Walk through your front door as if you were a guest. What do you see first? What do you smell?
The “Guest Eyes” Inspection
Check for any glaring spots you missed—maybe a smudge on the front door glass or a stray shoe in the middle of the hall. Use your last few minutes to:
- Freshen the Air: Open a window for a few minutes to let out the “cleaning chemical” smell, or light a candle/spray a light air freshener.
- Light it Up: Turn on the lamps. Soft lighting makes a home look much cleaner and more inviting than harsh overhead lights.
- Final Floor Pass: Do one last quick sweep of the entryway to ensure no dirt was tracked back in during your blitz.
Common Pitfalls: Why Your 2-Hour Clean Might Fail
Even with the best intentions, it is easy to fall off the wagon. Here are the most common mistakes people make when trying to learn how to clean a house in 2 hours:
- Getting Bogged Down in Detail: Do not start cleaning the inside of the windows. Do not start organizing your junk drawer. If it takes more than 60 seconds, it is not a blitz task. Save those for a deep-cleaning day.
- Not Having Your Tools Ready: If you have to go to the garage to find the vacuum, you’ve lost 5 minutes. Prep is everything.
- Checking Your Phone: This is a big one. Put your phone on “Do Not Disturb.” One “quick” check of Instagram can turn into a 20-minute rabbit hole, and your timer will be gone.
- Cleaning in the Wrong Order: Always clean top to bottom. If you vacuum first and then dust the ceiling fan, all that dust falls onto your clean floor, and you have to do the work twice.
Customizing the Blitz for Your Specific Home
Every home is different. If you live in a 1,000-square-foot apartment, you might finish this blitz in 90 minutes. If you have a 3,000-square-foot house with four kids, you might need to adjust.
Scaling for Size and Help
If you have a larger home, don’t try to do it all alone. Assign “zones” to your family members. Even a toddler can be responsible for the “Toy Bin Blitz.” If you have a partner, one person can handle the “wet” rooms (kitchen and bathrooms) while the other handles the “dry” rooms (living room and bedrooms). This can cut your 2-hour clean down to 1 hour!
Eco-Friendly Swaps
If you prefer natural cleaners, you can swap the all-purpose spray for a mixture of water, white vinegar, and a drop of dish soap. It works just as well for most surfaces and is much cheaper. Just be careful with vinegar on natural stone like marble or granite, as it can etch the surface over time.
Your 2-Hour Cleaning Checklist (Summary)
To help you stay on track, here is a quick summary you can refer to while you are in the middle of your blitz.
- Prep (10 mins): Music on, tools in caddy, declutter with a basket.
- Kitchen (20 mins): Soak microwave/stove, load dishwasher, wipe counters, sweep/mop.
- Living Room (15 mins): Fluff pillows, dust surfaces, vacuum high-traffic areas.
- Bathrooms (20 mins each): Spray and soak, wipe mirrors/sinks, scrub toilet/tub, mop floor.
- Bedrooms (15 mins each): Make beds, clear “clutter chair,” dust nightstands, vacuum.
- Dining/Hallways (10 mins): Wipe down tables, straighten chairs, vacuum entryways.
- Final Touches (10 mins): Air freshener, lights on, final “guest” walkthrough.
FAQ: Can I really clean a whole house in just 1 hour?
While 2 hours is the “sweet spot” for a thorough surface clean, you can definitely do a “lightning version” in 60 minutes. To do this, focus only on the “public” areas—the kitchen, the living room, and the guest bathroom. Skip the bedrooms and the laundry room. It won’t be a full-house clean, but it will undoubtedly be enough to make your home feel inviting for visitors!