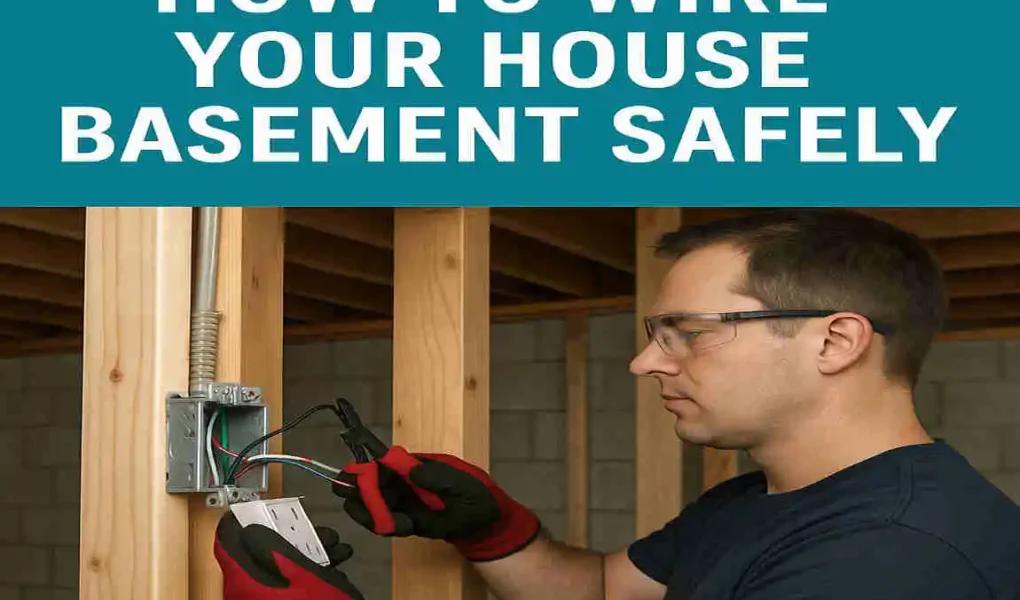
Wiring your basement can be a rewarding project that transforms an often-unused space into a functional area, such as a workshop, home theater, or gym. However, doing it incorrectly can lead to serious hazards, including electrical fires. Each year, improper wiring is linked to over 50,000 electrical fires in homes across the US. This guide will walk you through wiring your basement safely and efficiently, whether you’re a DIY enthusiast or a homeowner planning a renovation.
Why Wire Your Basement Safely
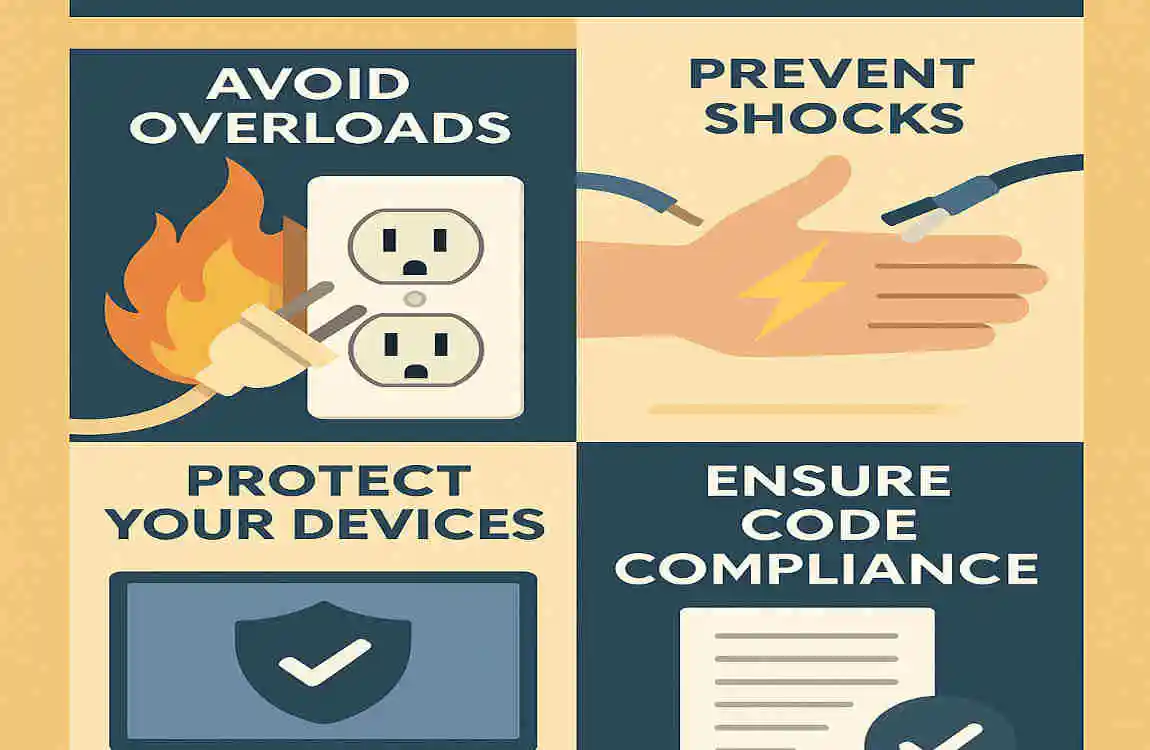
Wiring your basement properly is not just about convenience—it’s about safety, savings, and legal compliance.
The Benefits of Safe Basement Wiring
A well-wired basement powers various setups without risk:
- Workshops: Run power tools without tripped breakers.
- Home Theaters: Ensure stable lighting and AV equipment.
- Gyms: Handle multiple devices safely.
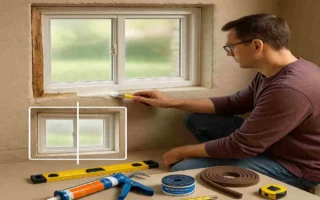
Basement-Specific Challenges
Basements have unique conditions that complicate wiring:
- Dampness: Moisture can corrode wires or cause shorts.
- Concrete Walls: Running wiring through solid walls requires conduit.
- Low Ceilings: Space constraints can affect fixture placement.
Ignoring these can lead to costly repairs or hazards.
Cost Savings: DIY vs. Professional Wiring
Hiring a pro can be expensive, but DIY wiring requires time and precision. Here’s a quick comparison:
Aspect DIY Cost Pro Cost Time Savings
Materials $200–$500 $300–$700 N/A
Labor/Tools $100 $1000+ 20–40 hours saved
Permits $50–$150, including 1–2 weeks
DIY wiring can save you money, but it comes with risks if not done correctly.
Legal Requirements
Wiring must meet National Electrical Code (NEC) standards. Failing to get permits or inspections can:
- Void insurance coverage.
- Lead to fines.
- Endanger your family.
Always check local codes before starting.
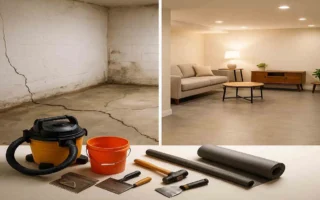
Essential Tools and Materials
Before diving in, it’s crucial to gather the right tools and materials to make your wiring project safe and smooth.
Must-Have Tools
- Voltage Tester: Confirms power is off before you start.
- Wire Strippers: For cleanly removing wire insulation.
- Fish Tape: Helps pull wires through tight spaces.
- Drill: For making holes in joists or studs.
- Staples: To secure cables neatly along framing.
Wiring Materials
- NM-B Romex Cable (12/2 or 14/2): Standard residential wiring.
- Conduits: Required for wiring through concrete or damp areas.
- Electrical Boxes: Plastic is preferred in damp basements.
- GFCI Outlets: Protect against electrical shock near water sources.
Safety Gear
- Insulated Gloves: Protect your hands.
- Safety Goggles: Shield your eyes from debris.
- Fire Extinguisher: Always have one nearby when working with electricity.
Planning Your Basement Wiring Layout
Proper planning is the foundation of any successful wiring project.
Mapping Your Circuits
Separate your circuits for better safety and load management:
- Lighting Circuits: Keep all lights on one circuit.
- Outlet Circuits: Group heavy-use outlets separately.
Calculating Electrical Load
Most basement circuits are 15 to 20 amps, depending on use. Make sure not to overload circuits to avoid breaker trips or fire risks.
Layout Steps
- Sketch Your Basement: Draw rooms and planned fixture locations.
- Mark Outlet Placement: Code requires outlets every 12 feet along walls.
- Plan a Subpanel: If your basement is more than 40 feet from the main panel, a subpanel may be necessary.
- Account for Future Needs: Think about EV chargers, smart home devices, or additional rooms.
Step-by-Step: How to Wire a Basement
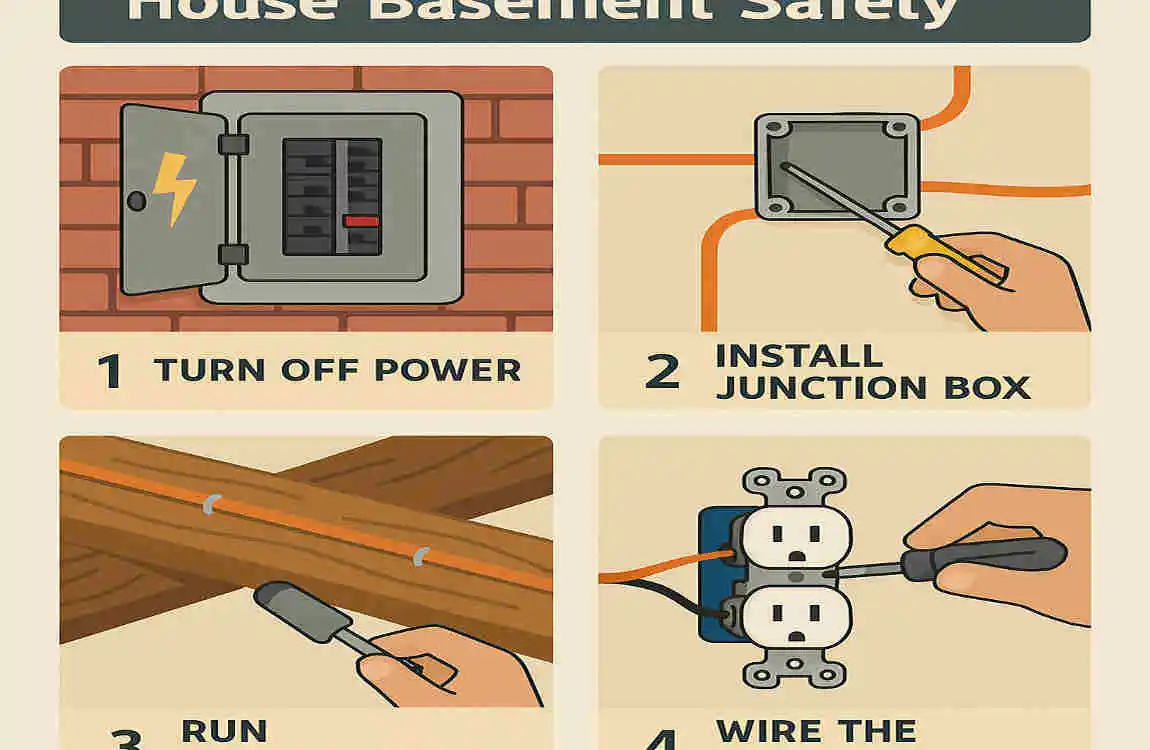
This section breaks down the entire wiring process into manageable, detailed steps.
Obtain Permits and Shut Off Power
Before any work:
- Apply for local permits. This ensures inspections and code compliance.
- Turn off the power to your home’s electrical panel.
- Use a voltage tester to confirm no electricity is flowing in the work area.
Run Main Feed from Panel
- Drill holes through floor joists to run cable from your main panel to the basement.
- Use staples to secure cables every 4.5 feet to prevent sagging or damage.
install Boxes and Run Circuits
- Mount electrical boxes: outlets and switches should be 12–18 inches above the floor; ceiling lights should be 6–8 feet high.
- For concrete walls, use conduits to protect wiring from moisture and damage.
Wire Outlets and GFCIs
- Connect hot (black or red) wires to brass terminals, neutral (white) wires to silver terminals, and ground (bare or green) wires to green screws.
- Wrap connections with electrical tape for extra safety.
- Install GFCI outlets near sinks, laundry areas, and other water sources to prevent shocks.
Connect Lights and Switches
- Use pigtail wiring to connect multiple fixtures to a single switch.
- Consider installing dimmer switches for adjustable lighting moods.
Grounding and Final Connections
- Bond all grounds back to the main panel.
- Install AFCI breakers where required by code to protect against arc faults, a common cause of fire.
Common Wiring Mistakes and How to Avoid Them
Mistake Risk How to Fix
No GFCI Installed. Electrical shock installation at the circuit start
Exposed Wires Fire hazard Use conduit and cover plates
Overloaded Circuits Breaker trips/fire Follow 80% load rule
Safety Tips and Code Compliance
Staying safe and legal is a priority:
- Install GFCI outlets near all water sources.
- Use nail plates on studs to protect wires from nails or screws.
- Avoid aluminum wiring, which can be risky.
- Follow your local amendments to NEC codes, especially regarding metallic sheathing.
Safety Checklist:
- Test every circuit with a voltage tester.
- Label all breakers clearly.
- Hire a professional for complex setups, such as subpanels.
Common Mistakes to Avoid
Many DIYers make costly errors, such as:
- Overloading circuits: Leading to frequent breaker trips.
- Ignoring moisture: Causing corrosion and shorts.
- Skipping inspections: Resulting in fines and unsafe wiring.
Real forum stories show how these mistakes can turn dreams into disasters.
Hiring a Professional vs. DIY
While DIY saves money, some jobs require expertise:
- Complex electrical services (like 200A panels).
- Subpanel installations.
- Situations involving unfamiliar wiring or older homes.
Calling a pro can save time and ensure peace of mind.