Imagine this: You’ve been dreaming of transforming your basement into the perfect home theater, a functional gym, or a cozy guest suite. But there’s one daunting task standing in the way—wiring the basement. The thought of dealing with electrical work can intimidate even the most seasoned DIY enthusiasts.
Well, you’re not alone. Many homeowners feel overwhelmed by electrical projects, especially those in basements, where unique challenges such as dampness and concrete walls come into play. However, with the proper knowledge and tools, learning to wire a basement can be a safe, budget-friendly, and gratifying DIY project.
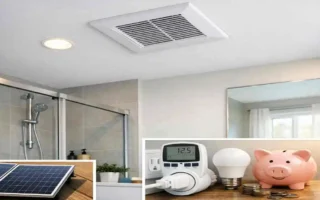
Why does proper wiring matter? Besides the obvious safety concerns, a well-wired basement ensures code compliance, boosts your home’s value, and gives you the confidence that your electrical system is reliable and efficient. Did you know that nearly 80% of home fires are caused by electrical issues? Proper wiring protects your dream home from becoming part of that statistic.
Why Basement Wiring Requires Special Attention
When it comes to basement wiring, you can’t apply the same approach you’d take for other parts of your home. Basements come with unique challenges that require careful planning and adherence to safety guidelines.
Unique Challenges in Basement Wiring
Basements are prone to dampness, low ceilings, and often have concrete walls or floors. These factors can complicate wiring because moisture increases the risk of electrical hazards, and working around harsh surfaces can be tricky. In addition, basements often double as storage or utility spaces, meaning wiring needs to be both safe and well-protected from physical damage.
Building Codes and Permits
One of the first steps in basement wiring is understanding local building codes. For example, NEC (National Electrical Code) Article 334 provides guidelines for wiring in basements. In most cases, you’ll also need a permit for your project to ensure compliance. Failing to obtain the required licenses could void your homeowner’s insurance or result in costly fines.
Benefits of DIY Basement Wiring
Learning how to wire a basement yourself can save you thousands of dollars. Professional electricians charge anywhere from $5,000 to $10,000 for basement wiring, depending on the size and complexity of the project. DIY wiring not only saves money but also gives you complete control over your electrical layout, allowing for customization to suit your dream setup.
That said, skipping safety protocols can lead to serious issues such as electrical shocks, fires, or even legal troubles. It’s critical to prioritize safety above all else.
Tools and Materials You’ll Need for Basement Wiring
Before diving into the project, gather all the necessary tools and materials. Setting up your workspace beforehand will make the process smoother and more efficient.
Essential Tools
Here’s a list of tools you’ll need for your DIY basement wiring project:
- Wire Strippers: For removing insulation from wires.
- Voltage Tester: To ensure circuits are de-energized before working.
- Fish Tape: For pulling wires through conduit or walls.
- Drill with Bits: To create holes for wiring.
- Conduit Bender: For bending metal conduit to fit tight spaces.
- Multimeter: To test circuits and troubleshoot issues.
Materials Checklist
You’ll also need the following materials:
- NM-B Cable (Romex): Standard wire for indoor use.
- UF Cable: For damp areas or where wiring is exposed.
- Electrical Boxes: Junction boxes, outlet boxes, and switch boxes.
- Breakers: AFCI or GFCI breakers for added safety.
- Conduit: Protects wiring in exposed areas.
Budget Breakdown
Expect to spend between $500 and $1,500 on tools and materials for a 500 sq ft basement. Pro tip: Buy in bulk from stores like Home Depot or Lowe’s to save money.
Step-by-Step Guide: How to Wire a Basement Safely
This section is the heart of the guide. Follow these steps carefully to ensure a safe and efficient wiring process.
plan Your Basement Electrical Layout
Start by mapping out your electrical layout. Identify all the circuits you’ll need:
- Lighting Circuits: Typically 15 amps.
- Outlet Circuits: Use 20-amp circuits for outlets.
- Appliances: Dedicated circuits for high-power devices like a washer or mini-fridge.
Use software like SketchUp or a simple pencil and paper to sketch your layout. Calculate the total load using the formula:
[ \text{Total Amps} = \frac{\text{Watts}}{\text{Volts}} ]
This ensures your circuits can handle the planned load without tripping breakers.
Shut Off Power and Prep the Space
Safety first! Turn off the power at the main breaker and use a voltage tester to confirm no electricity is flowing to your workspace. Clear out obstacles and mark stud locations for easier wiring.
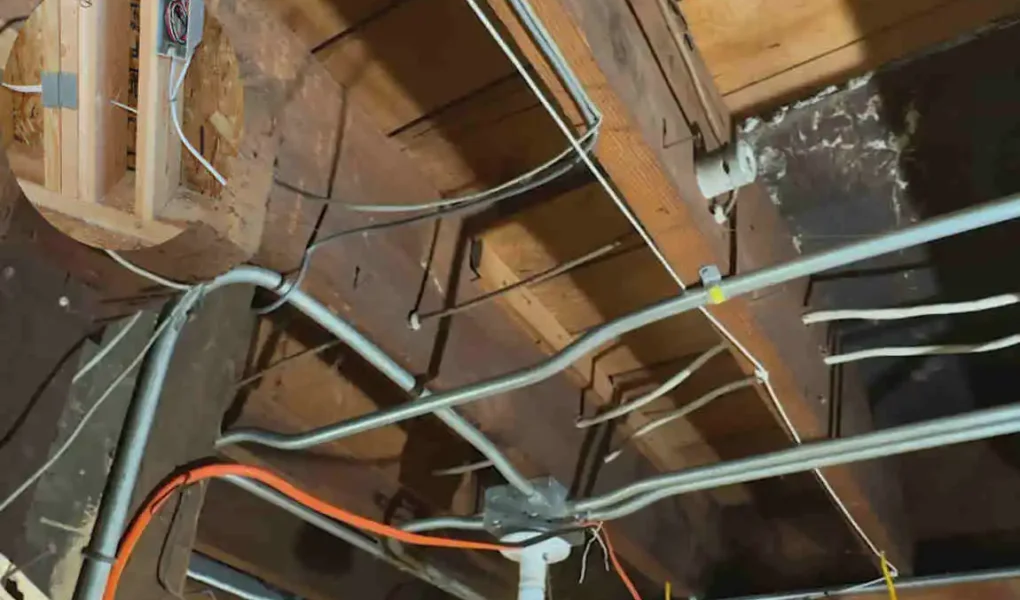
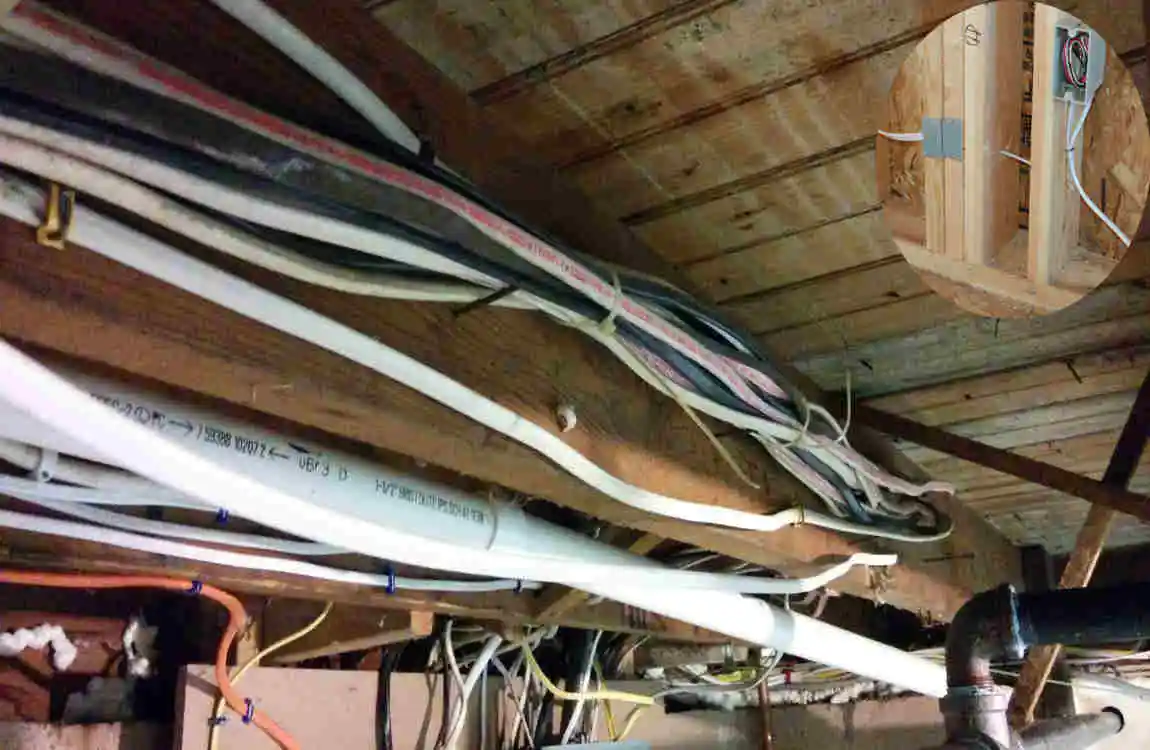
Run Conduit and Wiring Through Walls and Ceiling
Drill holes in joists, maintaining at least 1.25 inches from the edge to comply with code. Use fish tape to pull wires through walls and secure them with staples every 4.5 feet. For damp areas, use conduit to protect the wires from moisture.
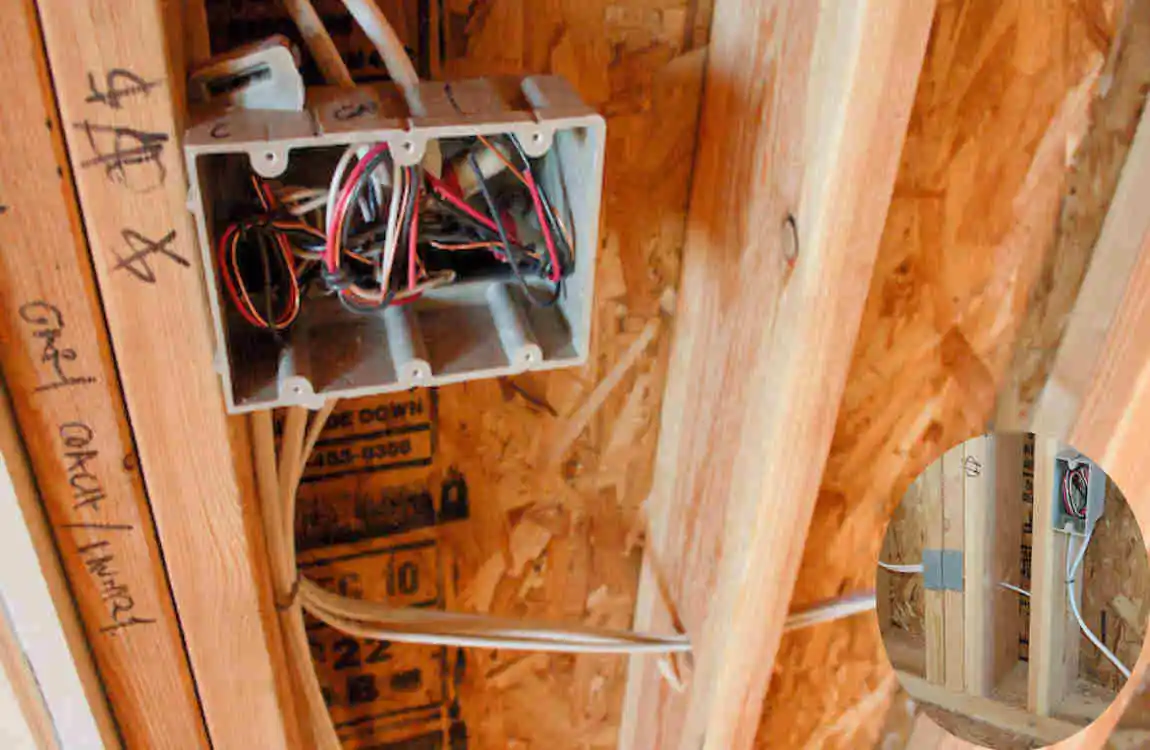
install Electrical Boxes and Pull Wires
Mount electrical boxes at standard heights (e.g., 12–16 inches for outlets). Pull wires into the boxes, leaving enough slack for connections. Ensure GFCI outlets are installed near water sources, such as sinks.
Connect Circuits at the Panel
At the panel, connect circuits to the appropriate breakers. Use AFCI or GFCI breakers for added safety. Properly torque neutral and ground connections to prevent loose wires.
Test and Troubleshoot
Once everything is connected, test your circuits using a multimeter. Check for continuity and load. Fix any loose connections or polarity issues before powering up the system.
Basement Wiring Codes and Best Practices
Here are some key NEC requirements and best practices to follow:
- Outlet Placement: Outlets must be installed every 12 feet along walls (NEC 210.52).
- GFCI Protection: Required in areas near water (NEC 210.8).
- Damp Locations: Use UF cable or weatherproof boxes.
Common Mistakes to Avoid
Avoid these pitfalls to ensure a smooth project:
- Using undersized wires, which can overheat.
- Skipping permits or inspections.
- Overloading circuits or failing to label wires properly.
Cost Breakdown and Time Estimates
Item Estimated Cost Time
Materials $800–$2,000 10–15 hours
Tools (if buying) $200–$400 N/A
Permits $100–$300 1–2 days
Total $1,100–$2,700 2–3 weekends
When to Call a Professional Electrician
Some tasks are best left to professionals, such as:
- Installing subpanels or upgrading your leading service.
- Replacing aluminum wiring.
- Troubleshooting flickering lights or persistent tripping breakers.