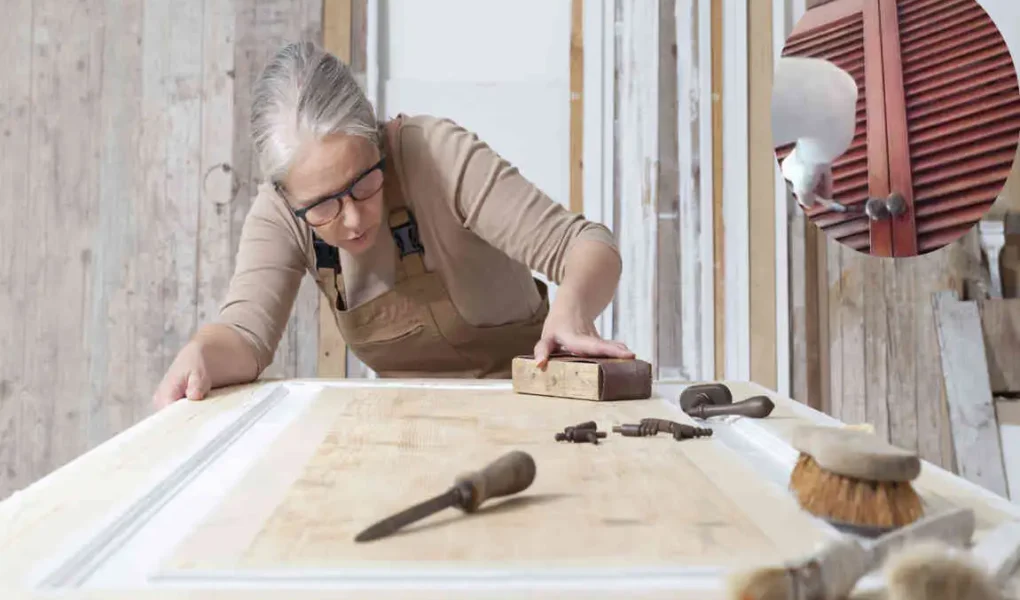
Sanding louvered doors requires special attention due to their many slats and intricate design. Start by removing any hardware, like handles and locks, to avoid damage. Use horizontal sanding motions on each slat, carefully reaching into the tight crevices on either side. Work methodically from the top to the bottom, using specialized tools for hard-to-reach spots if needed. This thorough sanding removes old finishes and smooths the wood, helping to achieve a flawless painting or staining result for a stunning home finish. Finally, run your hand over the home door to check for any rough spots or splinters to sand down for a perfectly smooth surface.
This approach ensures a beautiful finish while respecting the door’s detailed structure.
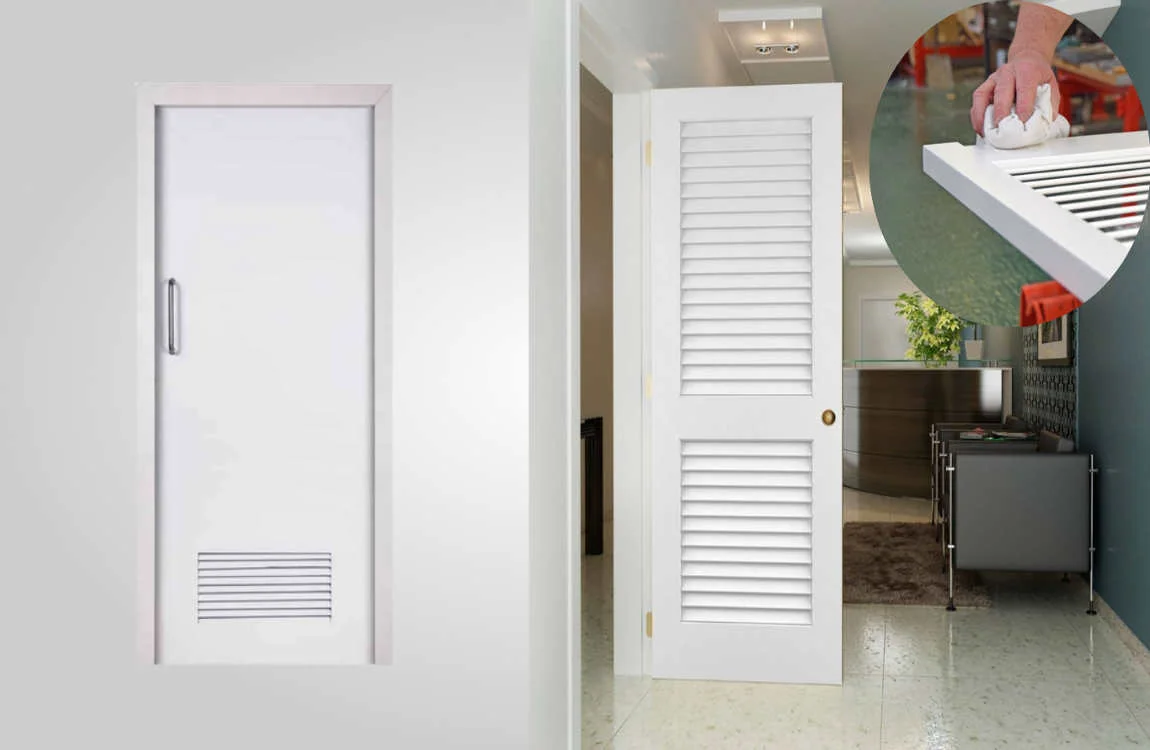
Benefits of Sanding Louvered Doors

Sanding louvered doors offers several advantages that can significantly enhance both their appearance and functionality. One of the most notable benefits is the restoration of a smooth surface. Over time, paint or varnish may chip or wear away, leading to an unsightly finish.
By sanding these doors, you remove imperfections and create a clean canvas for new paint or stain. This process not only revitalizes their look but also helps prevent peeling in the future.
Another benefit lies in improved airflow. Louvered doors are designed for ventilation. A well-maintained surface allows air to flow freely without obstruction from debris buildup.
Sanding can also increase durability. A finely sanded door will bond better with finishes, resulting in longer-lasting protection against moisture and damage.
It’s an opportunity to personalize your space. You can choose colors or stains that reflect your style while giving those louvered doors a fresh lease on life.
Tools Needed for Sanding Louvered Doors
To tackle the task of sanding louvered home doors effectively, you’ll need a few essential tools. Start with sandpaper in various grits—fine, medium, and coarse. This variety will help you strip away old finishes and smooth out imperfections.
A sanding block is another must-have. It ensures even pressure on flat surfaces while allowing better control around the louvers’ edges. For those hard-to-reach places between slats, consider a detail sander or an oscillating tool with a sanding attachment.
Don’t forget protective gear! Safety goggles and a dust mask will keep your eyes clear and lungs safe from particles created during the process.
Have some clean rags handy for dusting off surfaces before applying any finish after sanding. With these tools at your side, you’re well-equipped to transform your louvered doors into stunning features for your home.
Step-by-Step Guide on How to Sand Louvered Doors
Start by removing the louvered doors from their hinges. Lay them flat on a work surface for easier access.
Use 120-grit sandpaper to tackle rough areas first. Wrap the sandpaper around a sanding block for better control, especially in those angled slats.
Focus on one section at a time. Move with the grain of the wood to avoid scratches and achieve an even texture. For tight corners, consider using a detail sander or folded sandpaper.
After addressing rough spots, switch to finer 220-grit sandpaper. This will smooth out any imperfections left behind by coarser grit.
Ensure you’re thorough but gentle; excessive pressure can damage delicate louver sections. Once complete, wipe down the doors with a damp cloth to remove dust particles before applying your finish or paint choice.
You may also read (residential locksmith for home what to expect).
Tips for Achieving a Smooth Finish
To achieve that flawless finish on your louvered doors, patience is key. Start by using fine-grit sandpaper, around 220 grit, which helps smooth out imperfections without damaging the wood.
Always sand in the direction of the grain. This technique minimizes scratches and enhances the door’s natural beauty. Take your time with each louver; even pressure ensures consistent results.
Consider using a sanding block for flat areas to maintain an even surface. For those tricky angles between louvers, a foam sanding sponge works wonders.
Don’t forget to vacuum or wipe down surfaces after sanding. Removing dust particles will prevent them from marring your final coat of paint or varnish.
If you want an extra touch of elegance, apply light coats of finish instead of one heavy layer. This method enables better adhesion and a smoother overall appearance.
Finishing Touches and Maintenance for Louvered Doors
Once your louvered doors are sanded to perfection, it’s time for some finishing touches. A fresh coat of paint or stain can elevate their appeal, enhancing the wood grain while adding color to your space. Choose a high-quality product that suits your home’s aesthetic.
After painting, let the doors dry completely before reinstallation. This step prevents smudges and ensures a flawless finish. If you’re using varnish, consider applying multiple thin layers for durability.
Maintenance is key to keeping louvered doors looking pristine. Regular dusting helps prevent buildup in hard-to-reach areas, such as those slats. For deeper cleaning, a damp cloth with mild soap will do wonders without damaging the finish.
Inspect hinges and hardware periodically; lubrication keeps them operating smoothly without squeaks or stiffness. Small efforts like these ensure your beautifully finished louvered doors remain an attractive feature in your home for years to come.
You may also read (where to buy bifold barn door for your home or house).